System Administrator's Guide/Installing Mahara/
From Mahara Wiki
< System Administrator's Guide | Installing Mahara
- Download the latest XAMPP software from https://www.apachefriends.org
- Once downloaded, install the software by following the steps on the screen.
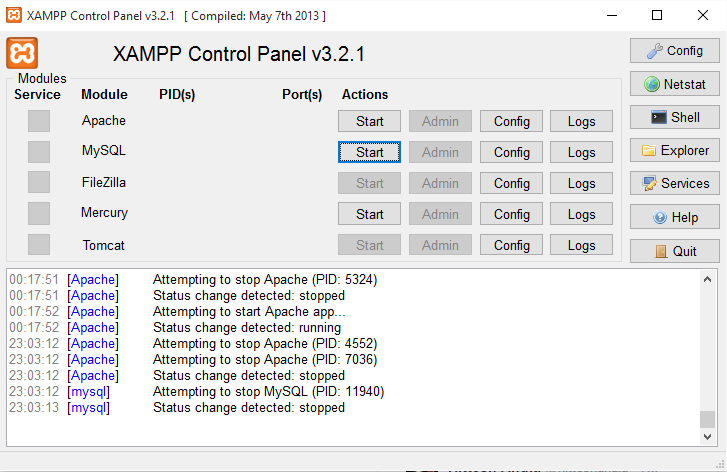
- Once installed, make sure you have turned on Apache and MySQL from the XAMPP Control Panel
- On your favorite browser, go to http://localhost and you should see the XAMPP welcome page.
- Once your server is up and running with MySQL, we need to create a Mahara database. Head to http://localhost/phpmyadmin which should log you in to your mysql database . Once in, create a new database called 'mahara' having a collation of utf8_general
- Clone the latest version of Mahara from https://github.com/MaharaProject/mahara.git
- . The next step is to configure all the variables in the config-dist.php file. You need to complete this file with the values of your installation:
$cfg->dbtype = 'mysql5'; $cfg->dbhost = 'localhost'; $cfg->dbport = null; $cfg->dbname = 'mahara'; // this is the name of the mahara database $cfg->dbuser = 'root'; // this is usually the default user for the database administrator. $cfg->dbpass = ; If you have added a password to your root user, you should add the password here. $cfg->dbprefix = ;
You need to configure the paths for the wwwroot and dataroot directories with the values in your installation. In my case: $cfg->wwwroot = 'http://localhost/mahara/'; and $cfg->dataroot = 'C:\\xampp\\data'; (the double slashes are important).

